STEP 2: SANS SIFT VM Setup
caution
If you do not have access to a write-blocker and are willing to accept the risk of potentially modifying the block device being analyzed, you can connect the block device directly to the MIP.
note
The SIFT VM will need to be loaded onto the MIP from either the PMO provided CVA/H 3.7 HDD or the Fileserver AppStore share.
Pre-Configure SIFT VM
- Prior to powering on the SIFT VM, open the VM settings and ensure the settings are set to the following at a minimum:
- (USB Controller) USB compatibility:
3.0 - (Memory):
8GB - (Processors) Total Cores:
4
- (USB Controller) USB compatibility:
- Power on the SIFT VM and login
- Username:
assessor - Password:
<PMO_DEFAULT_PASSWORD>
- Username:
Connect Write-Blocker
- Attach the write-blocker Host input to a USB port on the MIP
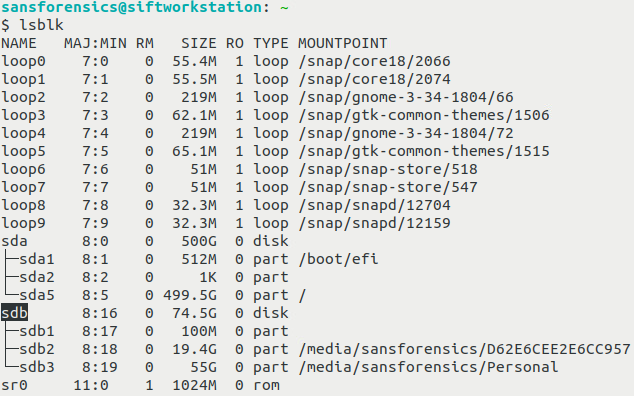
- Within the SANS SIFT Workstation VM, keep note of the currently attached block devices:
lsblk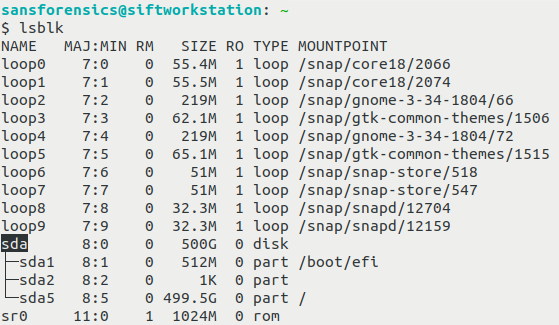
- In VMWare, navigate to the Removable devices menu for the SIFT VM and connect the write-blocker device to the VM
- Identify the newly attached block device
lsblk